
It’s undeniably true that wireless connection is more efficient for most people. However, because of home network bandwidth, multimedia sharing, and possible security threat for wireless connection, it is highly likely ideal to opt for a hard-wired internet for both home and office networking.
Using a hard-wired connection enables you to have a fast speed and secure internet network access, media and file sharing, streaming, authentication programs, online gaming, etc. For hard-wired connections to seamlessly work, a Cat 6 cable should be properly wired to the house.
Now, for you to know how, check the step-by-step guide below.
Planning and Consideration
When opting to wire a cat 6 cable to your house, there are several considerations you need to take note as per your needs.
- Determine the number of rooms you want to be wired. Perhaps you have certain rooms where your LED TV or computer is placed or different LED televisions in each room.
- Determine the best area for network distribution. It is also important to take note of where your internet is coming from, to what specific area. Not only that, space is one of the things you need to consider since it is where the shelf will be mounted to hold your network device.
- Identify the network speed you really need. This will help you identify what switch to choose that’s compatible with the network requirement to your house.
Start the Wall Plate Mounting
After you’ve determined the right place to mount your box, draw a marking on the wall where the box should fit in. After, you need to cut it with a hand saw. Once you’ve made a hole in the wall, place the box into it and secure it with screws. Clamps must be screwed so that they will securely hold the boxes in place to the wall. Repeat the process for every location you want to place the boxes.
Have a Proper Cable Measurement
To get the measurement, you can make an estimate measure from your floor plans and make a run method. This is for you to find the right length needed for every cable run. To do this, you may run one cable to each area of your house from the room where the cables are being distributed. Label both ends per cable with a marker as well as both ends of the ports.
After drilling for top holes, string out cables to determine the measurement per run. Cut three additional parts of the same lengths for each run, you will then need to do a cable relay afterward. You can also tuck extra-long cables to the wall.
Attach the Cables to the Patch Panel and Jacks
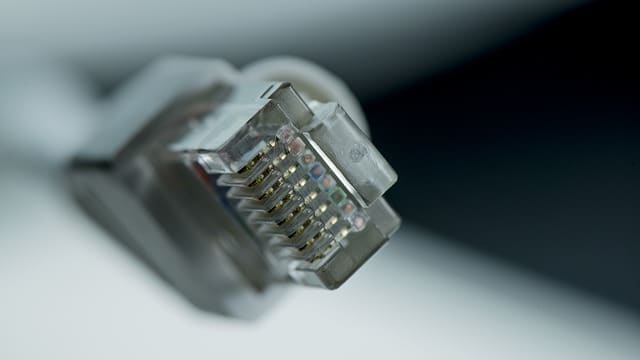
After running the cables, next is to attach them to the jacks and patch panel. Since the material for patch cable is optional, you can opt to take out a raw cable from the wall. Place an RJ45 cable on it and connect it directly to the switchboard. However, if you want a permanent installation, it is recommended to mount the cables to a patch panel.
Mounting cables to a patch panel is not that difficult since most jacks and panels have diagrams. As for the wiring standards of T568A and T568B, patch panels have wire colored diagrams. After the cables are all connected, start mounting the patch panel into the wall and attached the jacks into the wall plates. You may also screw the wall plates into the boxes.
Start Testing Your Cable Connections
Prior to linking all network components, make sure to run a test to all connections in your house to ensure that everything is up and running already. You can make use of a network tester. After you’ve completed this step, next is to take another cable patch and a laptop. Connect it into each port installed per room. Make sure to check the switch and note if the indicator for a successful connection is on.
Start Connecting to the Internet
So everything has been successfully installed and set up. Now, it’s time to connect to the internet. First is placing the modem in your preferred area and set it up. After everything is completed, you can continue with the network setup. Also, internet setups may vary depending on your provider. Hence, if confused with the process, seek help from them.

Conclusion
Proper wiring of your Cat6 bulk cables according to this website https://www.otscable.com/bulk-cable/cat6/ will definitely make a huge difference in terms of better network installation. This way, not only you’ll have a cleaner and more organized setup, it will also help cables from being damaged. Devices can obtain network signals faster, too. It is very important to plan ahead of time and make considerations beforehand so that the entire process will be seamless.